
Learning Tailoring at Home
Are you passionate about fashion and want to create custom-made clothes from the comfort of your home? Learn tailoring at home with this comprehensive guide designed for beginners. Learning tailoring at home is a valuable skill that allows you to design, alter, and craft garments to fit perfectly. Whether you want to pursue it as a hobby or a profession, this guide will help you take the first steps toward mastering tailoring.
Why Should You Learn Tailoring at Home?
Learning tailoring at home offers flexibility, cost savings, and the freedom to work at your own pace. Here are some benefits of mastering this skill:
- Cost-Effective: Save money by altering and creating your own clothes instead of spending on expensive ready-made garments or tailoring services.
- Creative Freedom: Customize clothing to match your unique style and preferences, ensuring that your wardrobe truly represents your personality.
- Business Opportunity: Start a home-based tailoring business with minimal investment. Many people earn a living by offering customized clothing alterations and stitching services.
- Personal Satisfaction: Experience the joy of wearing self-made outfits and gain confidence by developing a valuable skill that can benefit you for a lifetime.
- Sustainability: Reduce waste and promote eco-friendly fashion by reusing old clothes, upcycling garments, and tailoring clothes to fit perfectly rather than discarding them.
- Customization and Comfort: Create outfits that fit your exact measurements and comfort preferences, avoiding the one-size-fits-all issue of mass-produced clothing.
- Skill Development: Tailoring improves hand-eye coordination, attention to detail, and patience, making it a great personal development skill.
Essential Tools and Materials to Learn Tailoring at Home
Before you start, gather the necessary tools to ensure a smooth learning experience. Learning tailoring at home becomes easier when you have the right equipment.
1. Sewing Machine
Invest in a beginner-friendly sewing machine with basic stitching functions.
2. Measuring Tape
Accurate measurements are crucial for well-fitted garments.
3. Fabric Scissors
Sharp scissors help in precise cutting of fabric.
4. Needles and Threads
Have a variety of hand and machine needles along with quality threads.
5. Pins and Tailor’s Chalk
Pins help hold fabric in place, while tailor’s chalk assists in marking measurements.
6. Fabrics for Practice
Start with cotton or muslin fabric before moving on to complex materials.
Step-by-Step Guide to Learn Tailoring at Home
Step 1: Understanding Fabrics
Fabrics vary in texture, stretch, and thickness. As a beginner, start with cotton as it is easy to handle. When you learn tailoring at home, understanding different fabric types will help you make informed choices.
Step 2: Mastering Basic Stitches
Before using a sewing machine, practice basic hand stitches:
- Running Stitch: Simple and quick for basic seams.
- Backstitch: Stronger than a running stitch, ideal for seams.
- Hemstitch: Used to create neat and professional hems.
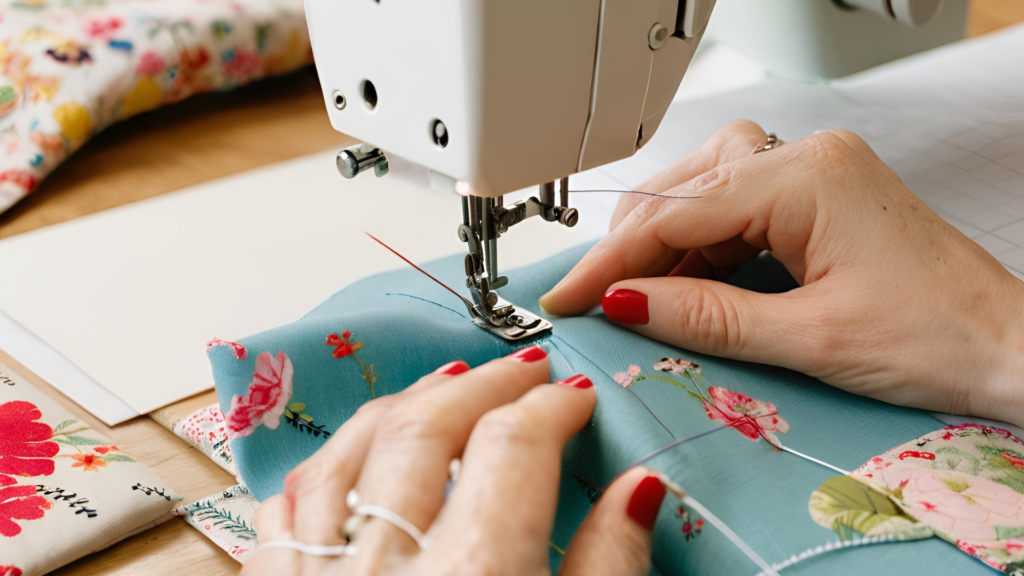
Step 3: Learning Machine Sewing
Once comfortable with hand stitches, move on to machine sewing. Learning tailoring at home means practicing on a sewing machine until you are confident in handling fabric smoothly. Here’s how to get started:
- Understand Your Sewing Machine: Read the manual to familiarize yourself with different parts, settings, and functions.
- Threading the Machine: Learn how to properly thread both the upper thread and bobbin to avoid stitch issues.
- Practicing Straight Stitches: Start by sewing straight lines on scrap fabric to gain control over speed and alignment.
- Experimenting with Stitch Length and Tension: Adjust settings to see how they affect stitches and choose the right combination for different fabrics.
- Learning Basic Machine Stitches: Practice zigzag stitches, buttonholes, and overlock stitches to enhance your sewing skills.
- Maintaining Your Sewing Machine: Regularly clean the machine, oil the moving parts, and check the tension to keep it running smoothly.
Step 4: Taking Accurate Measurements
Proper measurements ensure a perfect fit. Use a measuring tape and note down key body measurements, including:
- Bust/Chest
- Waist
- Hips
- Shoulder Width
- Sleeve Length
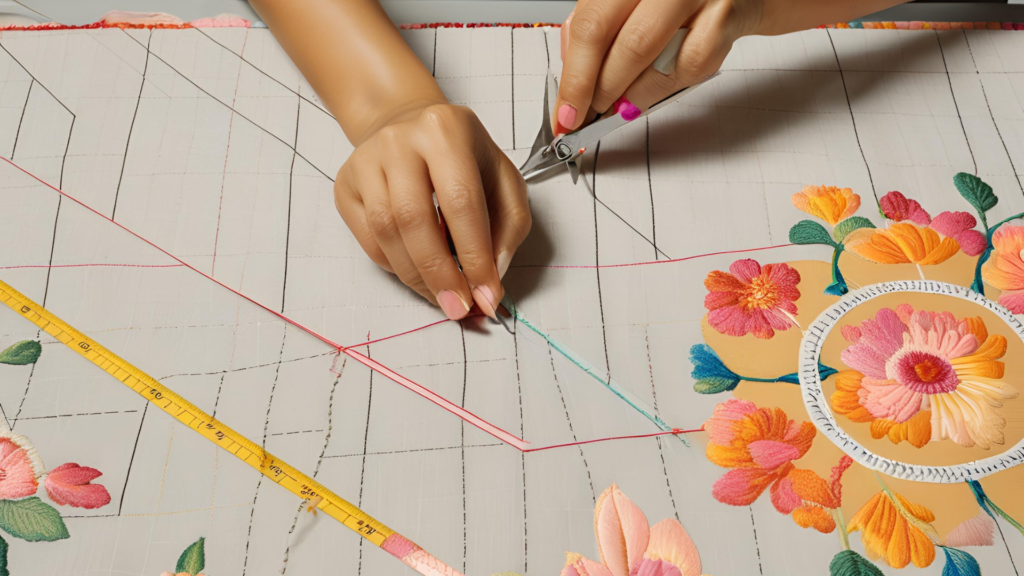
Step 5: Understanding Patterns and Cutting
- Using Ready-Made Patterns: Many online resources offer free printable patterns for beginners. These patterns guide you on how to cut and sew different garments.
- Drafting Your Own Patterns: Learn the basics of pattern drafting to create custom designs that fit your body perfectly.
- Pinning and Cutting Fabric: Pin the pattern onto the fabric and carefully cut along the lines, ensuring accuracy.
- Seam Allowance: Always leave extra fabric around the edges for adjustments and finishing.
- Understanding Grainlines: Fabrics have grainlines that determine stretch and durability. Always cut fabric along the correct grain to ensure a structured garment.
- Practice Cutting with Scrap Fabric: Before cutting expensive fabric, practice on scrap material to perfect your technique and avoid mistakes.
Step 6: Sewing Your First Garment
Start with a simple project, such as a pillowcase or a basic skirt. When you learn tailoring at home, begin with easy projects to build confidence. Follow these steps:
- Cut the fabric according to the pattern.
- Pin and sew the pieces together.
- Iron the seams for a professional finish.
- Try it on and make necessary adjustments.
Common Mistakes to Avoid When You Learn Tailoring at Home
- Ignoring Measurements: Always double-check before cutting fabric.
- Skipping Fabric Pre-Wash: Some fabrics shrink after washing, so pre-wash them before sewing.
- Improper Thread Tension: Adjust machine settings to avoid loose or tight stitches.
- Not Using Pins: Pins keep fabric aligned, preventing uneven stitches.
- Rushing the Process: Take your time to ensure precision and neatness.
Advanced Techniques to Learn Tailoring at Home
Once you master the basics, progress to advanced tailoring techniques. Learning tailoring at home should include:
- Darts and Pleats: Enhance garment shape and structure.
- Zipper Attachments: Learn invisible and exposed zippers.
- Buttonholes: Perfect for shirts and dresses.
- Lining and Interfacing: Improve durability and finish.
- Pattern Drafting: Create custom patterns based on body measurements.
Final Thoughts
Anyone can learn tailoring at home with dedication and practice. Start with the basics, gradually improve your skills, and soon you’ll be creating professional-quality garments. Whether for personal use or business, learning tailoring at home is a rewarding and valuable skill that can open many opportunities.
By investing time in learning proper sewing techniques, experimenting with different fabrics, and gradually challenging yourself with new projects, you can transform your home into a personal tailoring studio. Learning tailoring at home not only provides financial benefits but also boosts creativity, confidence, and sustainability in fashion.
So, grab your sewing kit, start stitching, and enjoy your tailoring journey!